Troubleshooting Agilent HPLC Systems: Issues & Solutions
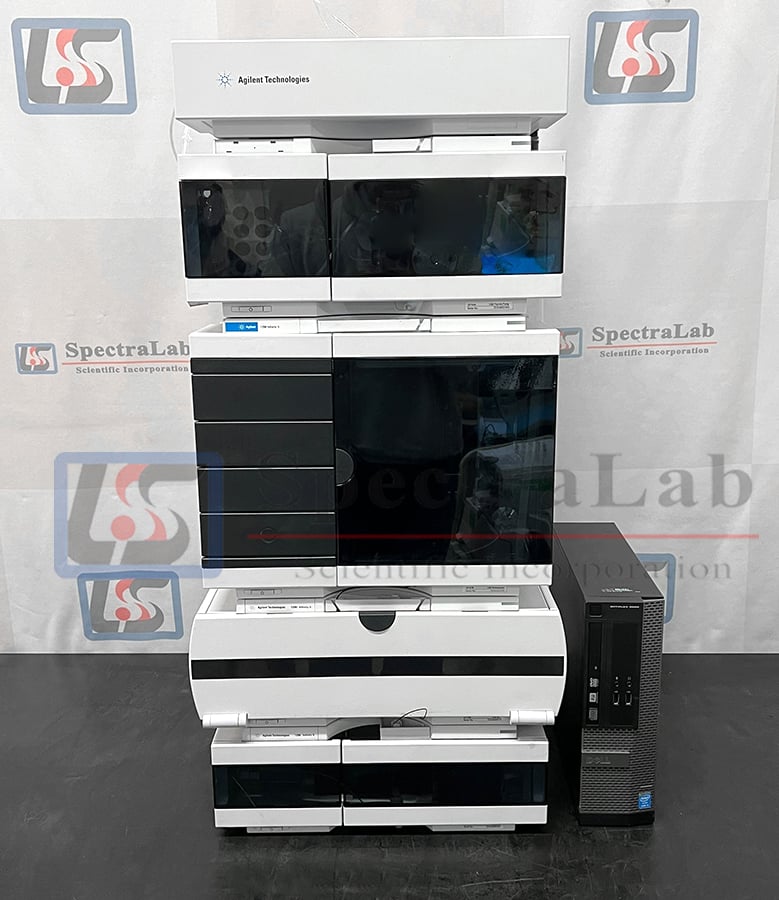
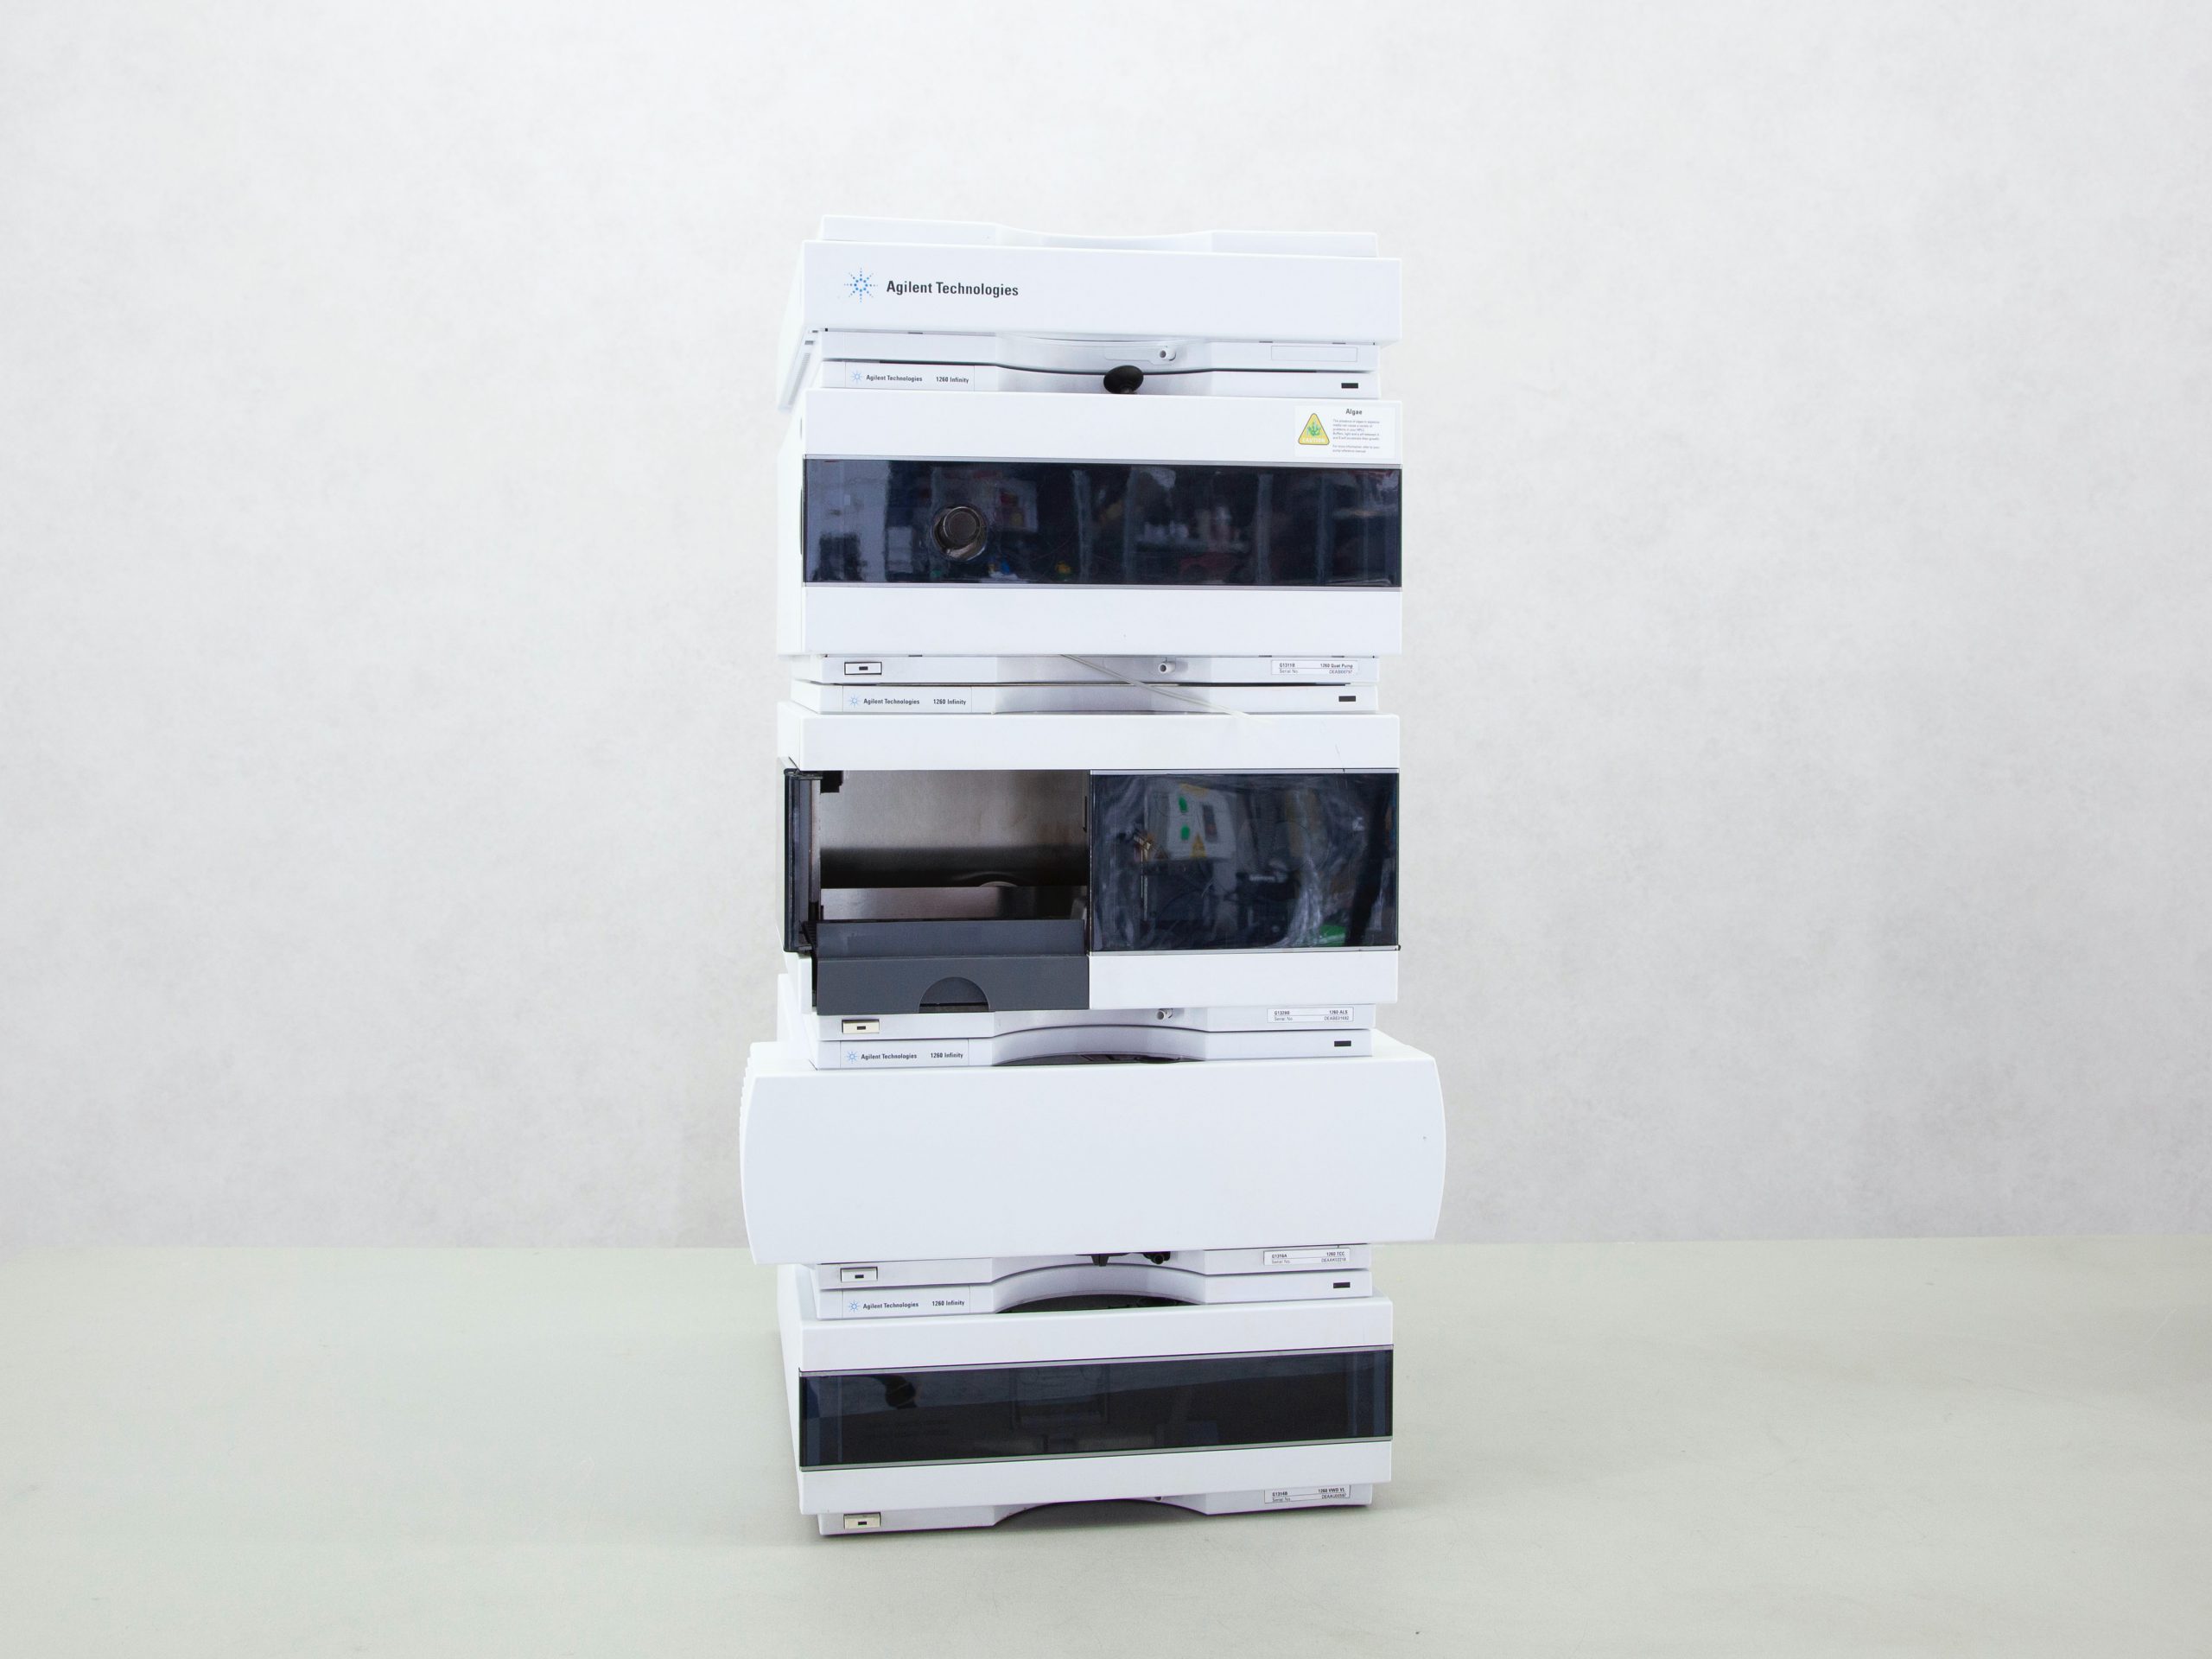
High-Performance Liquid Chromatography (HPLC) systems require meticulous maintenance and prompt troubleshooting to ensure accurate analytical results. The Agilent 1260 Infinity and 1290 Infinity series represent industry-leading HPLC platforms, but even these robust systems can experience operational challenges. This comprehensive guide walks you through systematic troubleshooting procedures, helping you quickly identify and resolve common issues that may compromise your chromatographic performance.
Whether you're facing pump pressure anomalies, detector baseline noise, autosampler errors, or software malfunctions, this guide provides actionable solutions based on manufacturer specifications and field-tested procedures. Each troubleshooting step includes specific part numbers, error codes, and technical specifications to accelerate your diagnostic process and minimize system downtime.
⚠️ Safety Precautions
Before performing any maintenance or troubleshooting procedures on your Agilent HPLC system, ensure you follow these critical safety protocols:
Chemical Safety: Always wear appropriate personal protective equipment (PPE) including chemical-resistant gloves, safety glasses, and laboratory coats when handling HPLC solvents. Common mobile phases like acetonitrile and methanol pose health hazards including respiratory irritation and skin absorption. Ensure adequate ventilation through chemical fume hoods, particularly during sample preparation and system maintenance. According to OSHA's Laboratory Safety Standard (29 CFR 1910.1450), maintain a written Chemical Hygiene Plan that addresses all hazardous chemicals used in your HPLC operations.
Pressure Hazards: The 1260 Infinity series operates at pressures up to 600 bar (8,700 psi), while the 1290 Infinity III systems can reach 1,300 bar (18,850 psi). Never disconnect fittings or remove components while the system is pressurized. Always shut down the pump and release system pressure before performing maintenance. Verify zero pressure on your system's pressure gauge before loosening any connections.
Electrical Safety: Disconnect power to the system before servicing electrical components. Follow lockout/tagout procedures per OSHA 29 CFR 1910.147 to prevent accidental system startup during maintenance. Ensure all modules are properly grounded and check for liquid leaks that could create electrical hazards.
Proper Disposal: Dispose of all waste solvents, contaminated parts, and mobile phases according to your institution's hazardous waste protocols and local regulations. Keep leak sensors dry and functional to detect early signs of solvent leaks. Maintain Safety Data Sheets (SDS) for all chemicals in an accessible location as required by OSHA's Hazard Communication Standard (29 CFR 1910.1200).
Pump Issues and Solutions
The pump is the heart of your HPLC system, and maintaining optimal pump performance is critical for reproducible chromatography.
Pressure Problems: If you observe abnormally high pressure readings, systematically isolate the source by disconnecting components from the column outlet backward. For the 1260 Infinity Binary Pump (G1312B), normal operating pressure with a 150 × 4.6 mm column (5 μm particles) at 2 mL/min should range between 100-200 bar depending on mobile phase viscosity. The 1290 Infinity III High Speed Pump (G7120A) supports pressures up to 1,300 bar with flow rates up to 5 mL/min. Check for clogged inlet filters, blocked frits, or contaminated columns. Backflush your column with 100% methanol or 50:50 methanol/water mixture if permitted by column specifications.
Leak Detection: Common leak sources include worn pump seals, loose fittings, and damaged capillaries. For the 1260 Quaternary Pump (G1311B), replace pump seals using the preventive maintenance kit (part number G1310-68741) which includes PTFE piston seals (5063-6589), support rings, and PTFE frits (01018-22707). When you notice the error "Leak, Drive off, out valve block position," use Agilent Lab Advisor software to identify which module triggered the shutdown. Dry any wet leak sensors and inspect all hydraulic connections. The active seal wash kit (G1311-68711) is essential when working with buffer-containing mobile phases to prevent salt crystallization that accelerates seal wear.
Check Valve Failures: Pressure fluctuations cycling with pump strokes indicate faulty check valves. Remove and clean the inlet and outlet valves using isopropanol. If cleaning doesn't resolve the issue, replace the outlet valve assembly (G1312-60067 for 1260 series). Ensure you use filtered, degassed mobile phases to prevent particulate buildup in check valves.
Flow Rate Errors: Verify actual flow delivery by collecting mobile phase in a graduated cylinder over a timed interval. The 1290 Infinity II Flexible Pump delivers 0.1-5.0 mL/min with ±1% accuracy. If flow is insufficient, check for air bubbles in pump heads, purge the system thoroughly, and inspect for leaks. Replace worn piston seals if you observe solvent leaking from the purge valve.
Detector Problems and Diagnostics
Detector issues can significantly impact your analytical sensitivity and data quality.
Baseline Noise and Drift: For the 1260 Infinity Variable Wavelength Detector (VWD, G1314F), specification limits are ±0.15 × 10⁻⁵ AU for noise and 1 × 10⁻⁴ AU/hr for drift. The 1260 Infinity Diode Array Detector (DAD, G4212B/G7115A) typically shows slightly higher noise due to its multi-wavelength capability. Start troubleshooting by running an intensity test through Lab Advisor. Low lamp intensity indicates aging deuterium lamps (part number 5190-0917 for 1200/1290 series, 2000-hour life with RFID). Replace lamps when intensity falls below 80% of specification.
Flow Cell Contamination: Baseline irregularities often stem from contaminated flow cells. Flush the flow cell by reversing flow direction: disconnect the outlet capillary, connect it to the inlet, and pump 100% isopropanol at 0.5 mL/min for 30 minutes. For reversed-phase applications, follow with a water/isopropanol gradient. For normal-phase work, use isopropanol extensively. Standard flow cells have 10 mm path lengths; ensure your flow cell matches your application requirements. Micro flow cells (6 mm path) are available for LC/MS applications.
Error Messages: The error "UV lamp tag not ready" or "lamp not ready" indicates either a failed lamp or RFID tag malfunction in newer DAD modules. First, attempt to reset the module through Lab Advisor. If unsuccessful, replace the lamp assembly ensuring proper RFID tag connection. The error "DAD error #523:523" or "#507:507" often results from corrupted configuration files; rename CONFIG.REG file in C:\ProgramData\Agilent Technologies\ChemStation\1\ to force system reconfiguration.
Detector Sensitivity Issues: When transferring methods from VWD to DAD, you may experience sensitivity loss. VWD systems achieve lower noise (±0.15 × 10⁻⁵ AU vs. ±0.8 × 10⁻⁵ AU for MWD/DAD). Optimize by increasing bandwidth slightly (at the expense of spectral resolution), matching flow cell path lengths, and adjusting reference wavelength settings. Ensure proper wavelength calibration using the built-in holmium oxide filter verification test.
Injection System Faults
The autosampler must deliver precise, reproducible injection volumes for reliable quantitation.
Carryover Problems: Excessive carryover between injections indicates inadequate needle washing or component contamination. Increase needle wash volume and duration in your method. For the 1260 Infinity Autosampler (G1329B), replace worn components including the needle assembly (G1313-87201), needle seat (G7129-87017), and rotor seal (0101-1416 for PEEK, 600 bar rating). The preventive maintenance kit (G7129-68740) includes all critical autosampler consumables. Perform blank injections between samples when analyzing high-concentration samples to verify adequate washing.
Metering Device Errors: The error "Metering Home Failed" (Error ID varies by model) typically indicates a blockage in the metering device or injection valve. Remove capillaries connected to the metering device, reset the autosampler via Lab Advisor, and inspect the plunger seal for wear. Flush the injection system with 50:50 isopropanol/water at low flow rate (0.2 mL/min). Replace the metering seal if you observe liquid leaking from the metering device housing. For persistent errors, replace the rotor seal (0100-1853 for Vespel, 2-groove style in 1100 series) and sample loop.
Injection Volume Inaccuracy: If your injected volumes don't match programmed values, perform complete autosampler maintenance. Replace the needle, needle seat, rotor seal, and check the syringe plunger for damage. Verify injection volume accuracy by weighing injections on an analytical balance. The 1290 Infinity Multisampler achieves ±0.3% RSD for 1 μL injections. Ensure sample vials are properly sealed and filled to appropriate levels (not overfilled) to prevent air aspiration.
Alignment Errors: For multisamplers, errors like "EE 25034,0: Sampler Alignment Procedure Command Failed" require autoreferencing. Access this function through Lab Advisor under maintenance functions. Ensure the needle assembly is properly installed and not bent. Gently move the sample handler to its home position manually if initialization fails. Update firmware if autoreferencing issues persist after hardware checks.
Column Problems
HPLC columns are consumable items, but proper care extends their useful lifetime significantly.
High Column Back Pressure: Increasing back pressure indicates column clogging from particulates or strongly retained compounds. Normal pressure for a 150 × 4.6 mm column with 5 μm particles at 2 mL/min with 50:50 methanol/water is approximately 100-150 bar. For UHPLC columns with sub-2-μm particles, pressures can exceed 1,000 bar at equivalent conditions. Estimate expected pressure using the equation: P = (Φ × η × L × F) / (d_p² × d_c²), where Φ is flow resistance factor (500-1000), η is viscosity in cP, L is column length in mm, F is flow rate, d_p is particle diameter in μm, and d_c is column diameter in mm.
Column Flushing and Regeneration: If pressure increases gradually, try backflushing the column (if manufacturer permits) by reversing flow direction. Flush with strong solvent (100% methanol or acetonitrile) for 30 minutes. For reversed-phase columns, a gradient from 10% to 100% organic over 30 minutes can remove retained contaminants. Never exceed the column's maximum pressure rating (typically 400 bar for traditional columns, 600-1,200 bar for UHPLC columns).
Clogged Column Frits: If backflushing fails to reduce pressure, the inlet frit may be irreversibly clogged. Replace the inlet frit or, if pressure remains high, replace the column. Prevent premature column death by always using guard columns or in-line filters (0.2-0.5 μm porosity). Filter all samples through 0.2 μm syringe filters and ensure mobile phases are filtered and degassed.
Peak Shape Deterioration: Tailing peaks or split peaks indicate column degradation. Check for voids by inspecting the column inlet. If the column bed has settled, you may see a gap at the inlet. This cannot be repaired; replace the column. Always store columns in appropriate solvents (typically 100% methanol for reversed-phase columns) and never let columns run dry. Cap both ends when storing to prevent bed drying.
Software and Communication Errors
Agilent ChemStation and OpenLab CDS software issues can halt your analysis workflow.
ChemStation Startup Failures: The error "Configuration System Failed to Initialize. ChemStation Will Shutdown Now" results from corrupted configuration files, often after unexpected shutdowns or power failures. Navigate to C:\Users<username>\AppData\Local\Agilent_Technologies\ (enable viewing hidden files in Windows Explorer) and rename user.config to user.config.old. Restart ChemStation to allow automatic regeneration of configuration files.
Method and Sequence File Errors: Errors like "Meth(od)File$ key in section [PCS,X] of ChemStation.INI not valid" indicate missing or corrupted method files. Locate ChemStation.ini (in C:\ProgramData\Agilent Technologies\ChemStation\ for version C.01.08+) and verify the method path. If the specified method doesn't exist, update the path to point to DEF_LC.M or another valid method file. Check that injection parameters are properly defined (non-zero injection times and volumes).
Autostart Macro Failures: The error "Autostart Macro Failed, error #999" (or #42, #17923) requires renaming CONFIG.REG files. Close all ChemStation instances, navigate to C:\ProgramData\Agilent Technologies\ChemStation\1\ (or C:\Chem32\1\ for older versions), and rename CONFIG.REG to CONFIG.REG.old. Restart the computer and reconfigure your instrument through OpenLab Control Panel. The system will automatically generate fresh configuration files.
Module Offline Errors: If instrument modules appear offline in ChemStation, verify physical connections first. Check all CAN-bus or LAN cables between modules. Ensure modules are powered on and showing green status LEDs. In Lab Advisor, verify communication by pinging each module's IP address (default for 1260 Infinity LC systems: 192.168.254.11). Reconfigure the instrument through OpenLab Control Panel if communication remains unsuccessful.
Licensing Issues: The error "Failed to acquire one or more mandatory licenses" occurs after PC name changes or hardware modifications. License files are tied to computer MAC addresses. Contact Agilent support to obtain an updated license file matching your current system configuration. Install the new license through the Agilent License Manager utility.
Troubleshooting Guide
| Issue | Symptoms | Causes | Solutions |
|---|---|---|---|
| High System Pressure (>200 bar above normal) | Pressure alarm, system shutdown, slow flow rate | Clogged column inlet frit, blocked in-line filter, particulate contamination, worn pump seals | 1. Disconnect column and check pressure - if normal, column is blocked. 2. Backflush column with 100% organic solvent if permitted. 3. Replace in-line filter (0.2 μm). 4. Check pump seals for wear. 5. Replace column if pressure remains high after backflushing. 6. Always filter samples and mobile phases through 0.2 μm filters. |
| Pump Leaks (Error ID 0063 - Shutdown) | Leak sensor activation, visible solvent dripping, pressure drop, system shutdown | Worn piston seals (part 5063-6589), loose fittings, damaged capillaries, cracked mixing chamber | 1. Use Lab Advisor to identify leaking module. 2. Dry leak sensors thoroughly. 3. Inspect all fittings and tighten if loose. 4. Replace pump seals using PM kit G1310-68741 (includes seals, frits, support rings). 5. For buffer mobile phases, install active seal wash kit G1311-68711. 6. Test system at 50% maximum pressure after seal replacement. |
| Baseline Noise/Drift in Detector | Unstable baseline, excessive noise (>±1.0 × 10⁻⁵ AU), drift (>2 × 10⁻⁴ AU/hr), poor peak integration | Contaminated flow cell, air bubbles, aging lamp, temperature fluctuations, improper mobile phase degassing | 1. Run intensity test in Lab Advisor - replace lamp if <80% specification (part 5190-0917). 2. Flush flow cell by reversing flow: disconnect outlet, connect to inlet, pump isopropanol at 0.5 mL/min for 30 min. 3. Ensure mobile phase is properly degassed. 4. Verify detector temperature stability. 5. Replace flow cell if flushing doesn't resolve noise. 6. Check for air bubbles in pump heads and purge system. |
| Autosampler Carryover | Sample peaks appearing in blank injections, cross-contamination between samples, ghost peaks | 1. Increase needle wash volume and frequency in method. 2. Replace needle assembly (G1313-87201) and needle seat (G7129-87017). 3. Replace rotor seal (0101-1416 for PEEK, 600 bar). 4. Use PM kit G7129-68740 for complete maintenance. 5. Run blank injections with strong wash solvent (50:50 acetonitrile/water with 0.1% TFA). 6. Replace sample loop if contamination persists. | |
| Metering Home Failed Error | Error during initialization, injection system failure, autosampler offline | Blocked metering device, worn plunger seal, contaminated rotor seal, air in injection valve | 1. Remove capillaries from metering device. 2. Reset autosampler through Lab Advisor. 3. Flush metering device with 50:50 isopropanol/water at 0.2 mL/min. 4. Inspect plunger seal for wear and replace if damaged. 5. Replace rotor seal (0100-1853 for Vespel). 6. Reconnect capillaries and test with blank injections. 7. Contact Agilent support if error persists after seal replacement. |
| Column Back Pressure Increasing | Gradually rising pressure over days/weeks, retention time shifts, peak broadening | Particulate accumulation on inlet frit, strongly retained compounds, mobile phase precipitation, column void formation | 1. Calculate expected pressure using column specifications to verify abnormality. 2. Disconnect column, flush inlet-to-outlet with 100% methanol at 0.5 mL/min. 3. If manufacturer permits, backflush column (outlet-to-inlet) with strong solvent. 4. Run gradient from 10% to 100% organic to remove retained compounds. 5. Replace guard column if present. 6. Replace column inlet frit or entire column if pressure doesn't decrease. 7. Prevent future issues: use in-line filters and filter all samples. |
| ChemStation Configuration Error | "Configuration System Failed to Initialize" message, software won't start, missing modules in interface | Corrupted user.config file, damaged CONFIG.REG file, unexpected shutdown, power failure during operation | 1. Navigate to C:\Users\<username>\AppData\Local\Agilent_Technologies\. 2. Enable viewing hidden files in Windows Explorer. 3. Rename user.config to user.config.old. 4. For autostart errors, navigate to C:\ProgramData\Agilent Technologies\ChemStation\1\. 5. Rename CONFIG.REG to CONFIG.REG.old. 6. Restart computer. 7. Relaunch ChemStation - system will auto-generate new configuration files. 8. Reconfigure instrument through OpenLab Control Panel if needed. |
| Degasser Pressure Limit Error (ID 22032, 29220) | Degasser error message, liquid exiting vent tube, air bubbles in mobile phase, baseline noise | Vacuum pump failure, ruptured degasser chamber, loose vacuum line, worn membrane | 1. Check for liquid exiting vent tube - indicates serious failure. 2. Stop degasser immediately if liquid observed. 3. Inspect vacuum lines for looseness or damage. 4. Test vacuum pump function (part G1322-60000 or G1379-60000 for 1260/1290). 5. Replace complete degasser module if chamber is ruptured. 6. Do not attempt partial repairs - complete replacement prevents cascading failures. 7. Replace vacuum pump every 4-5 years as preventive maintenance. |
| Low or Fluctuating Pressure | Pressure below expected values, cycling pressure matching pump strokes, inconsistent retention times | Air in pump, faulty check valves, pump seal leaks, loose fittings, empty solvent reservoir | 1. Check solvent reservoir levels and refill if low. 2. Purge pump thoroughly at high flow rate (5 mL/min) for 5 minutes. 3. Inspect all fittings for tightness using paper to detect subtle leaks. 4. Remove and clean inlet/outlet check valves with isopropanol. 5. Replace check valves if cleaning doesn't resolve cycling (outlet valve G1312-60067). 6. Replace piston seals (5063-6589) if worn. 7. Ensure mobile phase is properly degassed to prevent air introduction. 8. Verify flow delivery by collecting timed volume in graduated cylinder. |
| Peak Tailing and Poor Resolution | Asymmetric peaks (tailing factor >2.0), co-eluting compounds, broad peaks, reduced plate count | Column void at inlet, worn column bed, dead volume in connections, sample overload, pH incompatibility | 1. Inspect column inlet for voids by visual inspection. 2. Replace column if void is visible - cannot be repaired. 3. Check all connections for dead volume - use proper ferrules and fittings. 4. Reduce injection volume to prevent overload (typically <20 μL for 4.6 mm ID columns). 5. Verify mobile phase pH matches column specifications. 6. Replace guard column if present. 7. Optimize mobile phase composition for better selectivity. 8. Store columns in appropriate solvent (100% methanol for reversed-phase) to prevent bed drying. |
⚠️ Important: This guide summarizes safe repair practices based on industry best practices and manufacturer guidelines. Always consult the official manufacturer manual for model-specific procedures. Analytical instrument repair should only be performed by qualified personnel.
References
- 1. Agilent 1260 Infinity Isocratic and Quaternary Pump User Manual
- 2. Agilent 1260 Infinity Binary Pump User Manual
- 3. Agilent 1290 Infinity System Manual
- 4. Agilent 1290 Infinity III High Speed Pump Product Page
- 5. Agilent 1260 Infinity Variable Wavelength Detector User Manual
- 6. Agilent 1260 Infinity Autosampler User Manual
- 7. Agilent 1260/1290 Error Messages Community Forum
- 8. Basic Troubleshooting for Agilent 1260 and 1260 II ELSD
- 9. Troubleshooting HPLC Autosamplers - Agilent Community
- 10. How to Flush an HPLC Flow Cell to Troubleshoot Baseline Noise
- 11. Troubleshooting ChemStation Method File or Sequence File Errors
- 12. OpenLab ChemStation Not Starting - Basic Troubleshooting
- 13. OSHA Laboratory Safety Guidance
- 14. OSHA Laboratory Standard Fact Sheet (29 CFR 1910.1450)
- 15. Agilent HPLC Supplies and Maintenance Kits Quick Reference
- 16. Troubleshooting Basics Part II: Pressure Problems
- 17. Agilent Degasser Error Messages Technical Reference